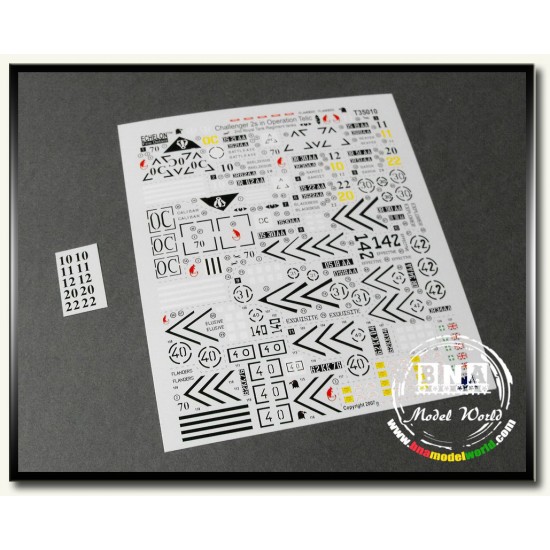
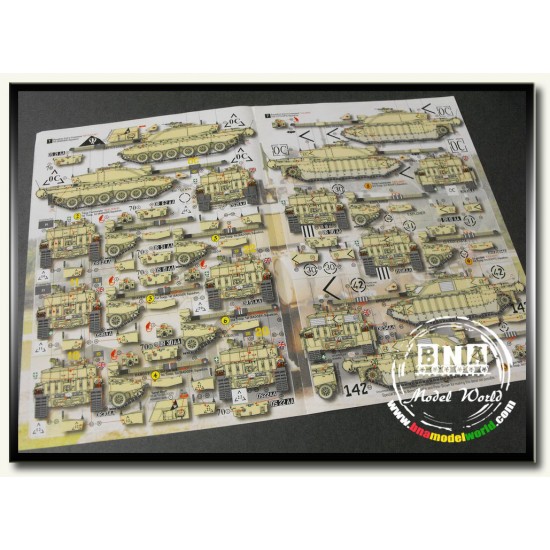
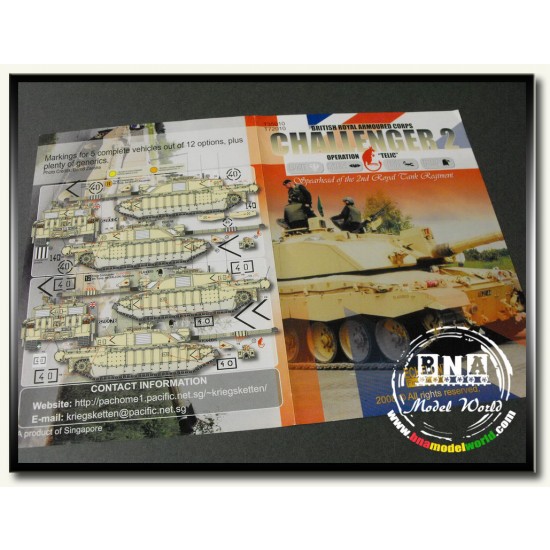
Decals for 1/35 British Challenger 2s in Operation "Telic"
Discontinued


Decals for 1/35 British Challenger 2s in Operation "Telic"
Water-slide Decals
Finally, the first set of Challenger 2 markings from EFD arrives as a result of a few years of research and accumulated data. While a few of the marking options have been produced previously, greater effort has been put forth in making them more accurate in the form of correct registration numbers, other markings and so forth.
On top of that, this set tries to cover all the emblems used by 2nd RTR during the operation with their respective representative vehicles. The first squadron (BADGER) used a "badger head" for very obvious reasons. The second squadron (CYCLOPS) used the "eye". The third squadron (EGYPT), utilised a "scorpion" which was very rarely seen. And lastly, but not the final, was the fourth squadron (FALCON), identified by the "falcon heads" emblazoned on the turret sides. The "falcon head" was captured from a really good close-up image - it actually has a red eye, which is of course reflected on the decals. The "Red Jerboah" came in two sizes, and also mirrored.
One of the proudest (and also the toughest) part of this set are the vehicle registration numbers, which were always under a heavy coat of dust or obscured from view during the initial stages of the war. A few secondary sources were found which allowed us to trace down the VRNs of all the vehicles featured here. Not only that, the font styles of the VRNs were also accurately captured. That means efforts for future Challenger 2 sets to come can be further minimised if the same styles were used.
How to apply water-slide decals:
1. Preparation: to achieve better result, a gloss or semi-gloss coat is very important. It will make a smooth layer which the decals will suction to and make it much easier to apply and set them.
2. Cut out the decal you need (do it on cutting mat)
3. Grab the decal with tweezers, place it on the surface of the water and leave it for about 20 seconds.
4. Remove the decal from the water and place it on paper towel to remove any excess water.
5. Apply decal solution to the part where the decal is to be placed.
6. Slide the decal off the backing paper on to the model. Using a paint brush or cotton bud is a good way to do this without damaging the decal.
7. Use the brush, knife or cotton bud to position the decal. Using your paper towel, gently dab the decal and soak up the excess water (decal softner is also recommended at this stage. After applying softner, the decal will suction to the part and flatten out smooth.)
8. When the decal is completely dry, give another coat of varnish or Klear/Future to seal it.
| General Info | |
| Scale | 1/35 |
| Type | Model Upgrade/Accessory |
| Subtype | Decals / Stickers |
- Stock: Out Of Stock
- Reward Points: 11
- SKU: EC T35010
MRP: US$13.47 US$2.4518% OFF
US$11.01
(excl. Tax)
US$10.74
Ex Tax:US$10.74


